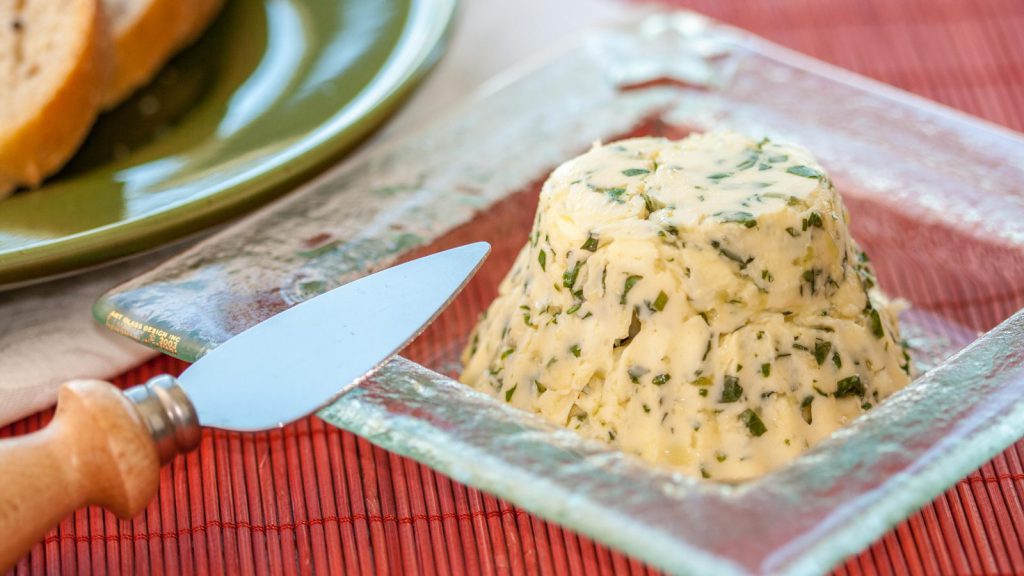
How to Make Butter
Ingredients
Yield: Makes about 1 pound of butter
- 4 cups organic heavy cream
- 0.5 teaspoon salt to taste optional
Instructions
- Pour cream into a food processor or blender. Process for about 6 to 8 minutes or until the butter separates. The cream will go through the whipped stage, thicken further and then change color from off-white to pale yellow. When it starts to look pebbly, it’s almost done. After another minute the butter will separate, causing the liquid to splash against the plastic wrap. At this point stop the mixer. Season to taste with salt, if you like.
- Set a strainer over a bowl. Pour the contents of the mixer through and let the buttermilk drain. Strain the buttermilk again, this time through a fine-mesh sieve set over a small bowl and set aside.
- Keeping the butter in the strainer set over the first bowl, knead it to consolidate the remaining liquid and fat and expel the rest of the buttermilk. Knead until the texture is dense and creamy for about 3 minutes. Strain the excess liquid into the buttermilk. Refrigerate the buttermilk. Transfer to an airtight container and refrigerate.
Video
Notes
Cooking Tips for to Make Butter
- Start with High-Quality Cream: Choose organic heavy cream for the best flavor. The fresher and richer the cream, the better your butter will taste.
- Control the Temperature: Keep the cream chilled to make it easier to churn without overheating your food processor. However, avoid letting it get too cold, as this can slow down the process.
- Watch for the Color Change: As the cream goes through stages, notice how it turns from off-white to pale yellow. This color change indicates that you’re close to forming butter!
- Save the Buttermilk: After straining the butter, remember to save the buttermilk. It’s perfect for baking, especially in pancakes, biscuits, or as a marinade.
- Knead for a Creamy Texture: Knead the butter to remove excess liquid. This step results in a dense, creamy texture and helps prevent spoilage.
- Enhance with Flavors: To create a gourmet touch, mix in fresh flavors and customize your butter. For example, you can add finely grated lemon zest, fresh herbs like tarragon, or even truffle shavings for a luxurious twist. Simply mix in these additions after kneading the butter for even flavor distribution.
- Store Properly: Finally, place your finished butter in an airtight container. It will keep for up to two weeks in the fridge, or you can freeze it for longer storage.
Master the Art of Hors d’Oeuvres and Canapés
Are you ready to impress at your next gathering? Our Hors d’Oeuvres Mastery Online Course is designed for those who want to elevate their entertaining skills. This course covers:
- Essential Techniques: Learn professional skills for preparing a range of canapés and bite-sized hors d’oeuvres.
- Flavor Pairing Tips: Discover how to combine flavors that will delight your guests.
- Creative Presentation: Get expert advice on plating and garnishing for visually stunning appetizers.
- Recipe Collection: Access an array of unique and crowd-pleasing recipes you can adapt for any event.
With our step-by-step guidance, you’ll gain the confidence to create sophisticated, flavorful hors d’oeuvres that are as beautiful as they are delicious. Join us to make your next event unforgettable!
Don’t miss out on the opportunity to enhance your culinary repertoire. Plus, be sure to check out our YouTube channel for expert cooking tips, tutorials, and even more inspiration to refine your skills!
Explore Our “How-To” Recipe Section!
Looking to master the basics or learn new cooking techniques? Check out our extensive How-To Recipe Section for step-by-step guides on essential cooking skills. From making homemade butter to perfecting sauces and more, we’ve got you covered with easy-to-follow instructions!
Whether you’re a beginner or a seasoned chef, our recipes are designed to help you achieve culinary success. Dive in and discover something new today!
