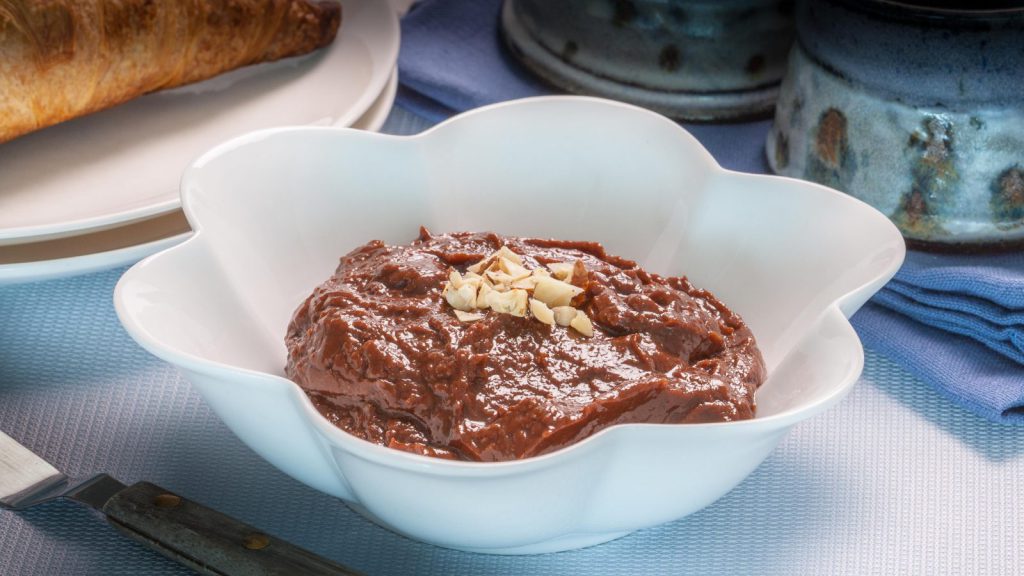
Chocolate Hazelnut Spread
Indulge in this homemade Chocolate Hazelnut Spread, made with rich dark chocolate, hazelnuts, and dulce de leche. Perfect for spreading on toast or desserts!
Servings: 6
Calories: 241kcal
Ingredients
- 7 ounces black chocolate - 70% cacao
- 1 teaspoon vanilla extract
- 4.5 ounces half salted butter
- 2 teaspoons hazelnut oil
- 3 tablespoons hazelnut butter
- 14 ounces sweetened condensed milk, or dulce de leche
Instructions
- Break the chocolate into chunks. Cut the butter into cubes and melt the butter and chocolate in a bain-marie.
- In a bowl, mix the dulce de leche or concentrated milk with the hazelnut oil, hazelnut butter, and the vanilla extract.
- When the chocolate and butter are melted, add the mixture in the bowl and mix well to get a smooth and shiny paste.
- Pour the mixture into jars and let it cool down.
- Keep refrigerated.
Notes
If you don't want to buy or can't buy hazelnut oil, don't worry; hazelnut butter typically separates at room temperature, so you may use the thick substance that rises to the top as a replacement for the hazelnut oil.
Tips for Making Chocolate Hazelnut Spread
- Choose High-Quality Chocolate: Opt for a high-cacao (70%) dark chocolate to get a rich, deep chocolate flavor that balances the sweetness of the condensed milk.
- Use Hazelnut Butter: If you don’t have hazelnut oil, simply use the thicker part of hazelnut butter. It provides the perfect consistency and nutty flavor.
- Melt Chocolate and Butter Gently: Use a bain-marie (double boiler) to melt the chocolate and butter slowly. This prevents the chocolate from seizing or burning.
- Smooth Consistency: Stir well to ensure the mixture is smooth and glossy. This will give the spread its signature velvety texture.
- Let it Cool: Allow the spread to cool before storing. It will firm up as it cools, creating the perfect consistency for spreading.
- Storage: Store the spread in an airtight jar in the refrigerator. It should last for up to 2 weeks.
- Serving Suggestions: Spread on toast, pancakes, waffles, or use it as a filling for cakes, pastries, or crepes.
- Flavor Add-ins: Experiment by adding a pinch of sea salt, cinnamon, or a dash of espresso powder for a unique twist on the classic spread.
Elevate Your Culinary Skills with Our Courses!
Ready to enhance your cooking? Our online courses cover everything from basics to advanced techniques, perfect for any skill level. Learn baking, meat prep, international dishes, and more— all from home!
🌐 Explore Our Full Course Catalog and Start Your Culinary Journey
Also, check out our YouTube Channel for recipes, tips, and expert cooking advice to inspire your next meal!
🔴 Subscribe Now for fresh recipes and culinary tips!
